Convert Photos to PES Embroidery Files for Beautiful Stitch Results

Have you ever looked at a favorite photo and wished you could stitch it onto a shirt, cap, bag, or quilt? It is possible. With the right process, a simple photo can become a beautiful embroidery design. The secret is not just using the right machine. It also starts with a well-made embroidery file.
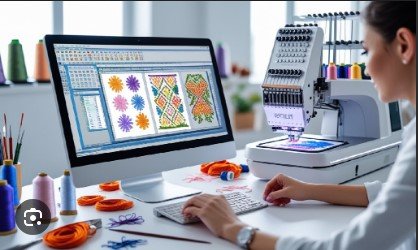
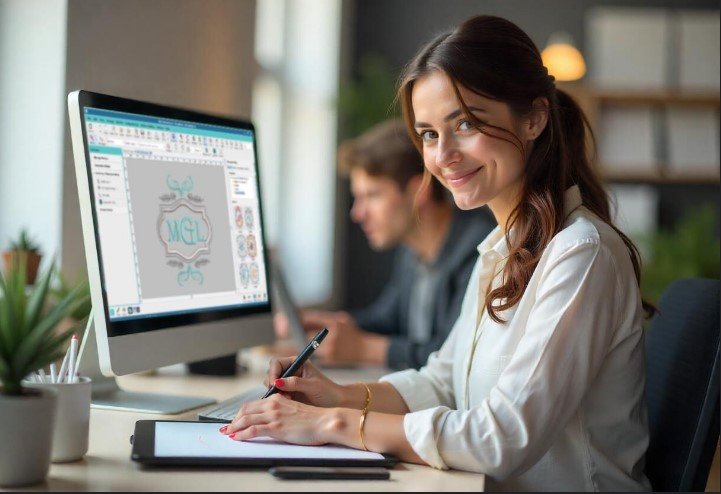
Many people think they can send a photo straight to an embroidery machine. That is not how embroidery works. Before the design can be stitched, you must Convert Photos to PES Embroidery Files using the right digitizing process. A good PES file tells the embroidery machine where to stitch, which stitch type to use, and how the design should look on fabric.
A high-quality PES file helps the machine create smooth stitches, sharp details, and neat edges. It also reduces thread breaks, puckering, and wasted fabric. Whether you are making gifts, business logos, patches, or custom clothing, the quality of the file makes a big difference.
This guide explains how photo conversion works, why it matters, and what you should know before starting your next embroidery project.
What Is a PES Embroidery File?
A PES file is one of the most common embroidery file formats. It is mainly used by Brother and Baby Lock embroidery machines.
Unlike a normal picture, a PES file contains stitch data instead of pixels. It tells the machine:
- Where each stitch starts
- Where each stitch ends
- Which stitch type to use
- Stitch direction
- Thread colors
- Stitch order
Without this information, an embroidery machine cannot create a clean design.
Why a Photo Cannot Be Stitched Directly
Many beginners believe a JPG or PNG image can be loaded into an embroidery machine. Sadly, this does not work.
Photos are made from tiny dots called pixels. Embroidery machines cannot read pixels. They only understand stitches.
That is why every photo must first go through embroidery digitizing. During this process, the image becomes a stitch file that the machine can understand.
This is where skill and experience matter the most.
How the Conversion Process Works
The process involves much more than pressing one button.
Step 1: Check the Photo Quality
Everything starts with a clear image.
The better the photo, the better the embroidery result.
A good photo should have:
- Sharp edges
- Good lighting
- Clear details
- High resolution
- Little background clutter
Poor-quality images often create poor embroidery.
Step 2: Clean the Artwork
The next step is cleaning the photo.
Extra backgrounds, shadows, and unwanted objects are removed.
The goal is to leave only the important parts of the design.
Simple artwork always stitches better than busy images.
Step 3: Plan the Stitch Types
Now the digitizer chooses different stitch types.
These may include:
Satin Stitch
Best for:
- Text
- Borders
- Small shapes
It gives a smooth and shiny finish.
Fill Stitch
Best for:
- Large areas
- Solid shapes
- Background sections
It creates strong coverage.
Running Stitch
Best for:
- Thin outlines
- Fine details
- Decorative lines
Each stitch type has its own purpose.
Step 4: Set Stitch Direction
Stitch direction changes how light reflects on the embroidery.
Good stitch angles make designs look deeper and more natural.
Wrong stitch angles can make embroidery look flat and messy.
Step 5: Add Underlay Stitches
Underlay is the hidden stitching beneath the top stitches.
It helps:
- Hold fabric in place
- Reduce movement
- Improve stitch quality
- Create smoother embroidery
Skipping underlay often leads to poor results.
Step 6: Test the Design
Professional digitizers never stop after creating the file.
They run stitch tests to check:
- Stitch quality
- Thread flow
- Density
- Registration
- Overall appearance
If needed, small changes are made before the final file is delivered.
Why Professional Digitizing Matters
Many free converters promise instant results.
In real projects, they often create problems.
Automatic software cannot understand fabric, stitch flow, or design balance like an experienced digitizer.
Professional digitizing offers:
- Better stitch quality
- Fewer thread breaks
- Cleaner lettering
- Smooth curves
- Strong fabric support
- Better production speed
Good digitizing saves time and money.
Common Problems with Poor Conversion
A low-quality embroidery file can create many issues.
Broken Threads
Bad stitch paths make threads snap more often.
Fabric Puckering
Too many stitches pull the fabric.
This causes wrinkles around the design.
Uneven Stitches
Wrong density creates rough-looking embroidery.
Gaps in the Design
Poor planning leaves empty spaces.
Misaligned Objects
Different parts of the design may not line up correctly.
Most of these problems start with poor digitizing.
Which Photos Work Best?
Not every picture makes great embroidery.
The best choices include:
- Company logos
- Family names
- Simple artwork
- Cartoon images
- Pet drawings
- Clean illustrations
- Sports logos
- School emblems
Photos with too many tiny details often need to be simplified.
Choosing the Right Fabric
Fabric changes how embroidery looks.
Different materials behave differently.
Cotton
Easy to embroider.
Perfect for beginners.
Polo Shirts
Need balanced stitch density.
Hats
Require special digitizing because of curved surfaces.
Jackets
Need stronger underlay for stable stitching.
Towels
Require topping to stop stitches from sinking.
Professional digitizers adjust every design based on the fabric type.
Tips for Better Embroidery Results
Use High-Quality Images
Clear photos create cleaner embroidery.
Keep Designs Simple
Simple artwork usually stitches better.
Choose the Right Size
Very small designs lose detail.
Very large designs take longer to stitch.
Match Thread Colors Carefully
Good color choices improve the final look.
Test Before Large Orders
Always stitch one sample first.
Testing helps find small problems before full production.
Why Experience Makes a Difference
Embroidery digitizing is both technical and creative.
A skilled digitizer knows how stitches behave on different fabrics.
They understand:
- Stitch density
- Pull compensation
- Underlay
- Stitch direction
- Fabric movement
These small details create beautiful embroidery.
Over the years, experienced digitizers learn what works and what does not.
That knowledge cannot be replaced by automatic software.
Choosing a Trusted Digitizing Service
Not every service delivers the same quality.
Look for a company that offers:
Fast Turnaround
Quick delivery keeps your projects moving.
Experienced Digitizers
Knowledge improves every design.
Machine-Ready Files
Files should work correctly the first time.
Quality Checks
Every file should be tested before delivery.
Friendly Support
Questions should be answered quickly and clearly.
Companies like Digitizing Buddy focus on creating embroidery files that stitch smoothly while keeping every design clean and professional.
Why Quality Is Worth the Investment
Some people choose the cheapest service they can find.
Later, they spend more money fixing bad embroidery.
Good digitizing reduces:
- Wasted thread
- Damaged fabric
- Machine downtime
- Production delays
- Customer complaints
A quality file pays for itself over time.
That is why many embroidery businesses trust experienced providers like Digitizing Buddy for important projects.
Frequently Asked Questions
Can every photo become embroidery?
Most photos can be converted, but detailed images often need to be simplified for better stitching.
What is a PES file?
It is an embroidery file that contains stitch instructions for compatible embroidery machines.
Is automatic conversion enough?
Automatic tools work for very simple artwork. Professional digitizing produces much better stitch quality.
Why does stitch density matter?
Correct density creates smooth embroidery without making the fabric pull or wrinkle.
Can one PES file fit every fabric?
No. Different fabrics often need different digitizing settings for the best results.
Final Thoughts
Turning a photo into embroidery is much more than changing one file format. Every stitch must be planned with care. Stitch direction, density, underlay, and fabric all play an important role in the final result.
A well-made PES file helps your embroidery machine produce clean lines, bright details, and smooth stitching. It also saves time, reduces waste, and creates a more professional finish.
Whether you are making one special gift or producing hundreds of embroidered products, investing in professional digitizing is one of the smartest choices you can make. With the right skills, the right process, and trusted experts like Digitizing Buddy, your favorite photos can become beautiful embroidery designs that stand out for years to come.

About Premium Author
This post has been authored and published by one of our premium contributors, who are experts in their fields. They bring high-quality, well-researched content that adds significant value to our platform.

Popular Categories
Stay Connected
Recent Posts